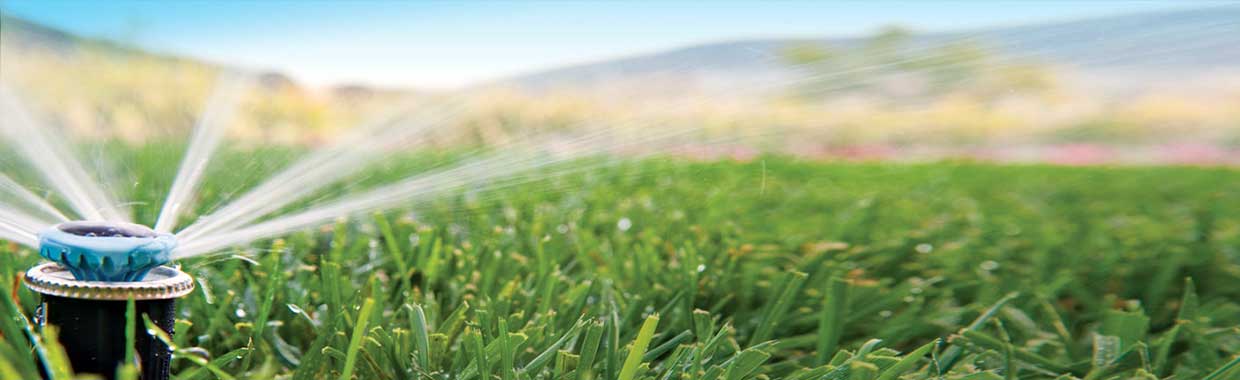


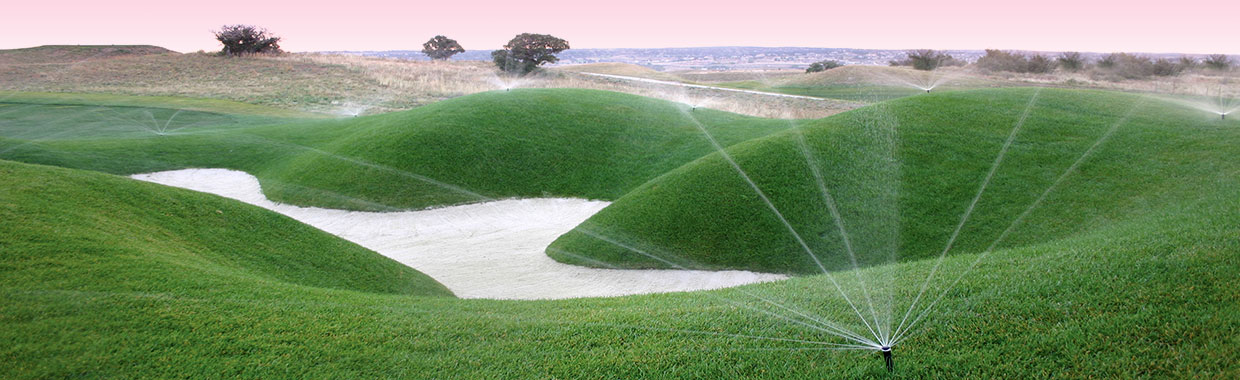


IrrigationSome of the wide variety of work we handle.

ServicesFrom surveys and design to Parks & Stately Homes.

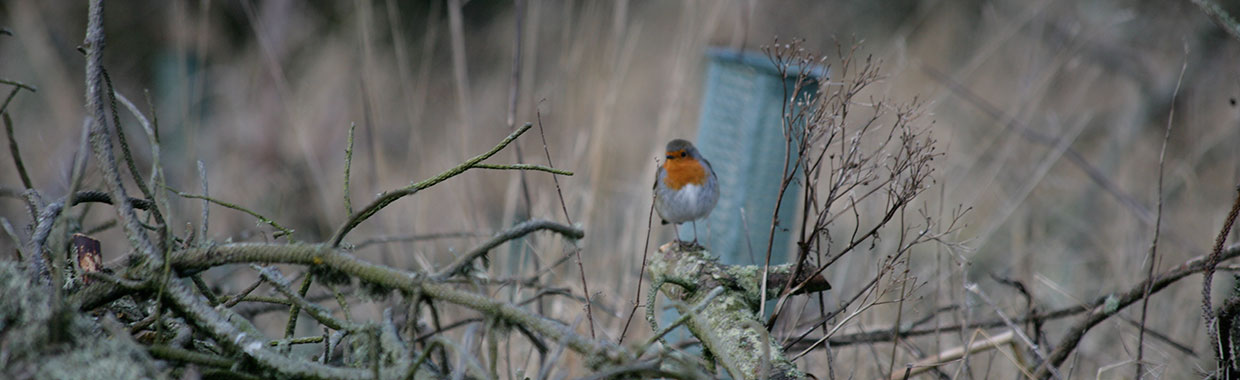
EcologyHabitat, Flood Assessment, Protection and Licensing

ConstructionShaping, Drainage and Renovation Works.
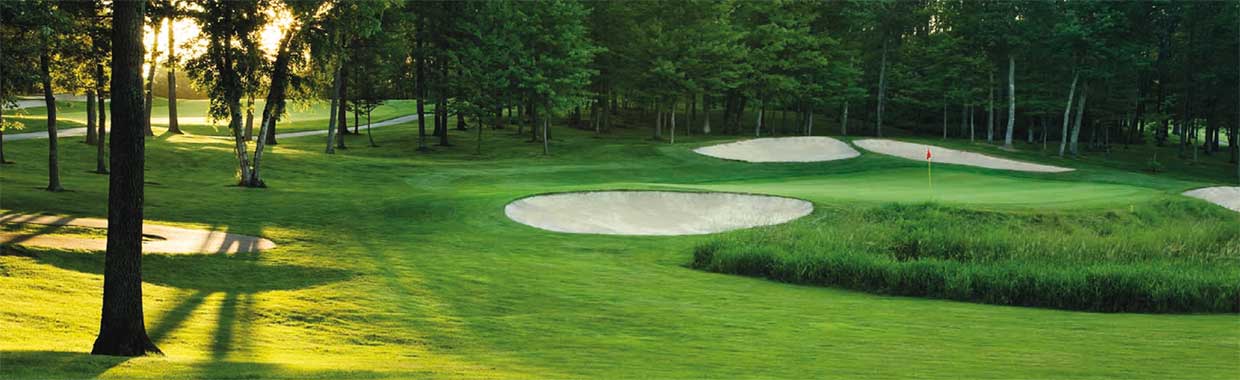
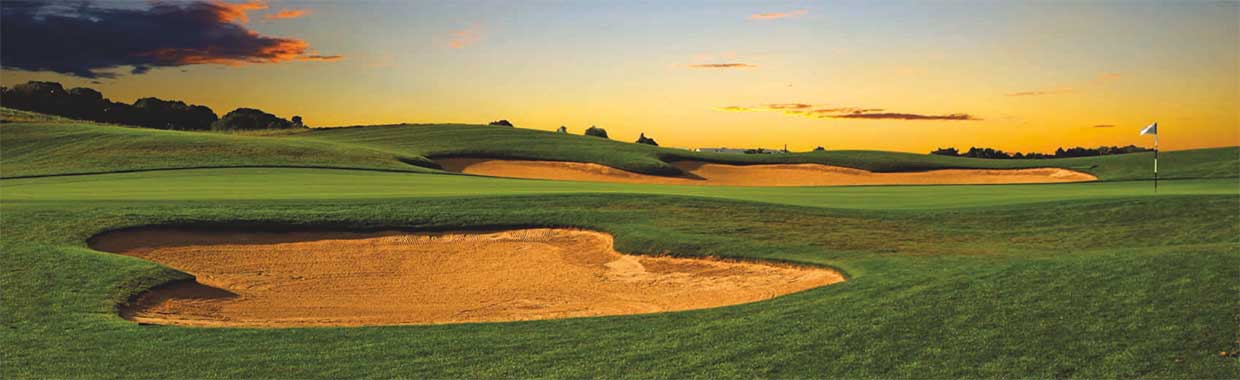
With over 40 years of experience, we can meet the needs you have, to build and construct, design and maintain your automatic irrigation system for any sports turf. We irrigate many prestigious English golf courses, football pitches and training grounds. We also maintain several National Trust Gardens.
Whilst offering and giving a personal service from a family company for your turf and garden irrigation needs we pride ourselves in providing and maintaining high quality levels of customer satisfaction and service for all clients.
We are also suppliers for many major manufacturers of irrigation equipment.